
Sunday, 4 January 2015


Assets - Board

- I want to create an art board in the rooms, because the color for scene 5 is too plane. To do that I create a cube and change the size of it then I go online and search the picture that I want to use.

- After I found a picture from internet, I then go to Cinema 4D and create a texture. Then I tick luminance and load the picture that I found from internet, but we also need to unlock the color or it will look really messy.
%24V%25W3H%60_N.png)
DU8J%5BTDPW127T%5DVI%5D28.png)
- These two picture on the left I think it looks really good and I like the style of it.


%7DN(G_72%5B_4%60FE26.jpg)
SGOL1%40Q3VKGL.jpg)

Character Rigging 1

- Make the joint, root, spine and body part to the character is the first step, the next step I need to do is go to binding and drop the model into the box to create a skin on the model, after I create the skin I can then go animation add walk to make it walk or use key frame to make it move. Its really hard to make the right position, but I know I will used to it
ETKL.png)
SF%7B2KL%5BQ5Z1Y%5DU7__TB8.png)
- The image above is using CMotion- add walk to create, it look quite natural when the model actually walk.
%5DFTY(%5BM_7S.png)
- For this image above I have use key frame to help me to make the movement. First I move the leg and then drop the key frame at the timeline, then I repeat to do another movement, as long as the key frame is not at the same position on the timeline.
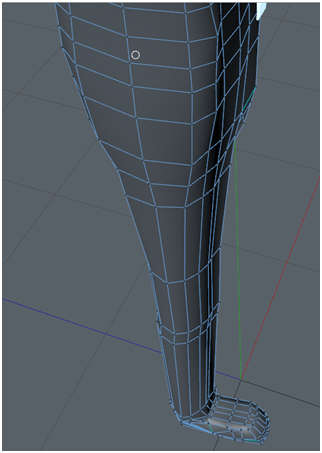
Character Rigging
%7B%5BUX6E%5B%7D%60GJ.png)
- After I finish the model, I need to rig it, because if I don’t the model wouldn’t able to move.
-
To do that I need to need to select character tool and add different joint to the character, for example arm, head and leg, then I neeed to move them to the right position, I can do that in different view to make it correct.

Character I create for my animation

O0AZETM%7BU_OX.png)
I had done a simple experimented before of how to create a character.My character is simple but I still need to take my time.To start I
first create a cube, and make lots segments then I make it editable, so I can
move the key point to build the body.
Then I create the
blue eye using the Boole tool and connect it with the body.
RE)VEE83~24.png)

%7DO5%5D8SU8Z3OTB9.png)
R~%4087BIA_R28RN%601%5B%40E.png)
My 3D Storyboard for my animation

- This is my 3D Storyboard for my animation,I think this help and shown a little bit more about the animation.
Monday, 8 December 2014
Chair I done


- The chairs I make is really simple, its just 4 cube stick together, but I also know they are other why to do it for example symmetry is a good way.

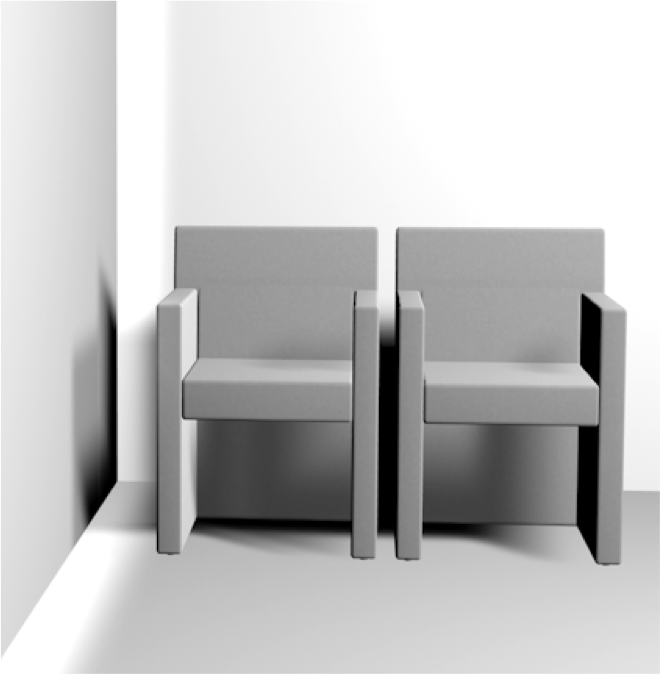
- The bottom right image is the how it actually looks like when I render it out, very simple, but look really nice.
Assets I done - Extrude the cube

- I really like extrude in Cinema 4d, because I think it can create lots object, for example this random object I create, for the whole object I only use the extrude.


- This is when I finish extrude the cube, it don’t look that good.


- Because the colours is too simple, so I go online and find some pictures for the texture and I think this two is quite fit the object.


Subscribe to:
Comments (Atom)